

You can tune that gear yourself
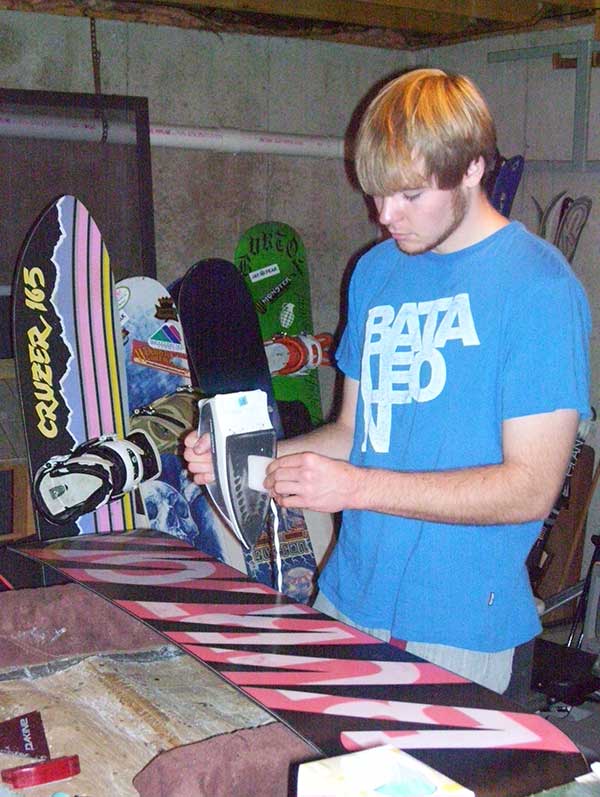
Ian applies p-tex
So this year you decided to go ahead and spend that substantial amount of money on a new pair of skis or snowboard. Now wouldn’t you like to be able to keep those new glorified planks in tiptop shape without bringing them to the shop every few weeks?
All you need to do this is a handful of materials. To keep skis and snowboards performing at their best they simply need some love from their owners, along with an occasional waxing and edge sharpening.
These two tasks can easily be performed by anyone when you have the simple knowledge behind the useful art of tuning your own gear.
Prior to attempting a ski or snowboard tuning, you will want to make sure you have a nice workspace where it will be all right to get some wax shavings on the floor/ground. Along with this you will want a work stand that has two elevated sides to it, so you can lay your skis/board upside down resting on the top sheets, without having bindings touch the table. One suggestion for this is to possibly use a couple of 2x4s wrapped in a towel.
Once a good work station is present, you will need the following items to perform the tuning. Ski and snowboard specific wax, a designated wax iron (not your mom’s clothes iron), file and file guide, p-tex sticks, a lighter, paper towels, something to scrape wax with (preferably a wax scraper), a washcloth or buffing cork, access to water and some sort of acidic liquid for a base cleaner (preferably ski and snowboard specific base cleaner).
After you have attained all of these items, you are ready to give tuning a shot. First, if you have a snowboard you are generally going to want to remove your bindings to prevent them from getting in the way throughout process. If you have skis, you will want to try to find some sort of strong elastic/strap to keep the binding brakes up and out of the way.
Once the binding situations are resolved, you are now ready to use your ski/board specific base cleaner, rubbing alcohol, or even a little paint thinner to remove all the debris and previous wax your skis/board has accumulated during its previous uses. I like to start by pouring some water on the base of the items and wiping them down with a paper towel to remove dust and dirt.
Following this, dry the skis/board as best as you can; then repeat the pouring process with your choice of base cleaner. Once again, wipe them down with a paper towel, but this time use time use some elbow grease to best remove the previous wax that might be on your skis/board then dry off the items as best as you can once again.
Now that the base is clean, you are ready to fill in any dings and scratches that your base might have accumulated over time using p-tex sticks. To do this, you will simply hold a lighter over one end of the p-tex stick until it slowly catches on fire.
Once the stick has a constant candle like flame on the end, it will begin to drip. You will want to fill in the scratches on your base using these drops, then blow the p-tex stick out as you would a candle.
While the p-tex is drying/hardening, you can start the edge sharpening process. For this you can make a file guide using a bastard file and a 90 degree angle piece of steel angle bar, but I recommend purchasing a ski/snowboard specific file/file guide to make the process easier.
To perform this task, you will run the file using your choice of file guide from nose to tail of the skis/board. You will generally do this until the edges are sharpened to your preference.
I was told once to keep sharpening each edge until you can peel off a slim piece of your finger nail when rubbed upside down against the edge.
Now that you have your edges to your liking, you will want to go back and use your wax scraper to remove the hardened access p-tex. Once these tasks have been completed you are ready to apply wax to your skis/board.
To begin the waxing process, you will want to take a paper towel and wipe all of the possible edge and p-tex shavings off your skis/board. Now you will heat up your iron to a relatively medium setting and hold it in a vertical position over the skis/board. You will then use the iron to melt/drip the wax onto the bases of the items. Apply enough drops of wax until you think you can cover the whole board during the melting process.
Once you have the wax dripped onto the skis/board, you will now turn those drops into a film of wax. Rub the iron on the wax, melting it until you have completely covered your skis/board in a film of wax. This process melts the wax into the pores of your base. Always remember to keep the iron in continuous motion during this process to prevent damaging your bases. Following this process let your gear set for at least 30 minutes to let the wax harden.
After 30 minutes you are ready to scrape, this is the messiest part of the tuning process. The idea behind scraping is to remove the majority of the film of wax from your skis/board. Do this by using your wax scraper and some added elbow grease to remove the wax from nose to the tail of your gear. You will want to do this until you have successfully shaved the wax film down significantly.
Following the scraping process, you are now ready to buff the remaining wax into your base to make your skis/board as fast as possible. To do this, you will either take a washcloth or a buffing cork to rub the wax in as much as possible. Once again, going from nose to tail use some elbow grease to rub the wax into the base, almost until your base looks like a buttery smooth piece of ice.
To wrap up the tuning process you will put your bindings back onto your board, remove the break straps from you skis and clean up your workspace for future use. Now go enjoy your freshly tuned gear on the slopes as soon as possible, you’ve earned it!