
How to make a mask: a pictorial
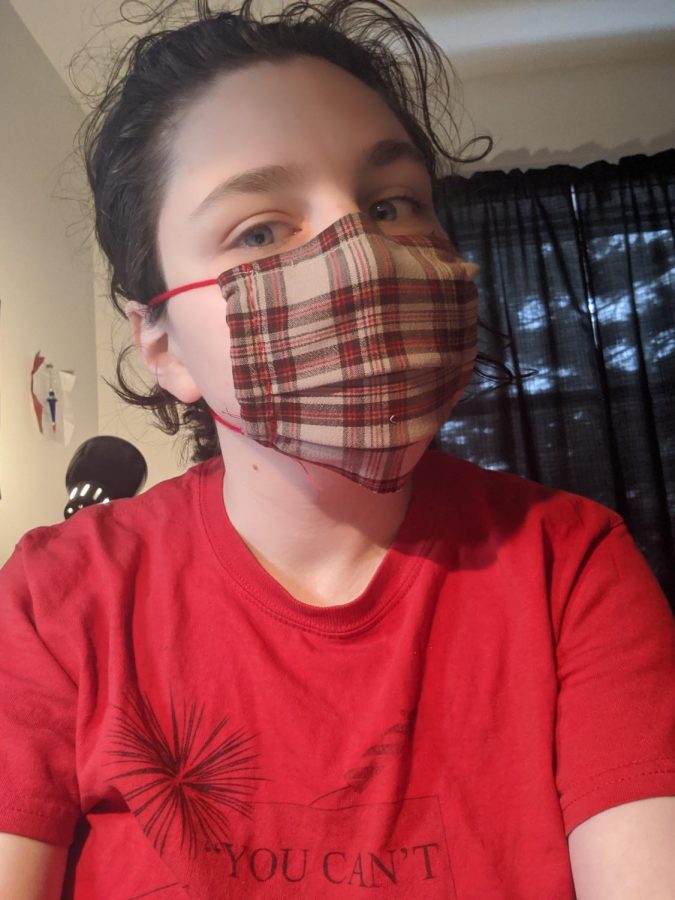
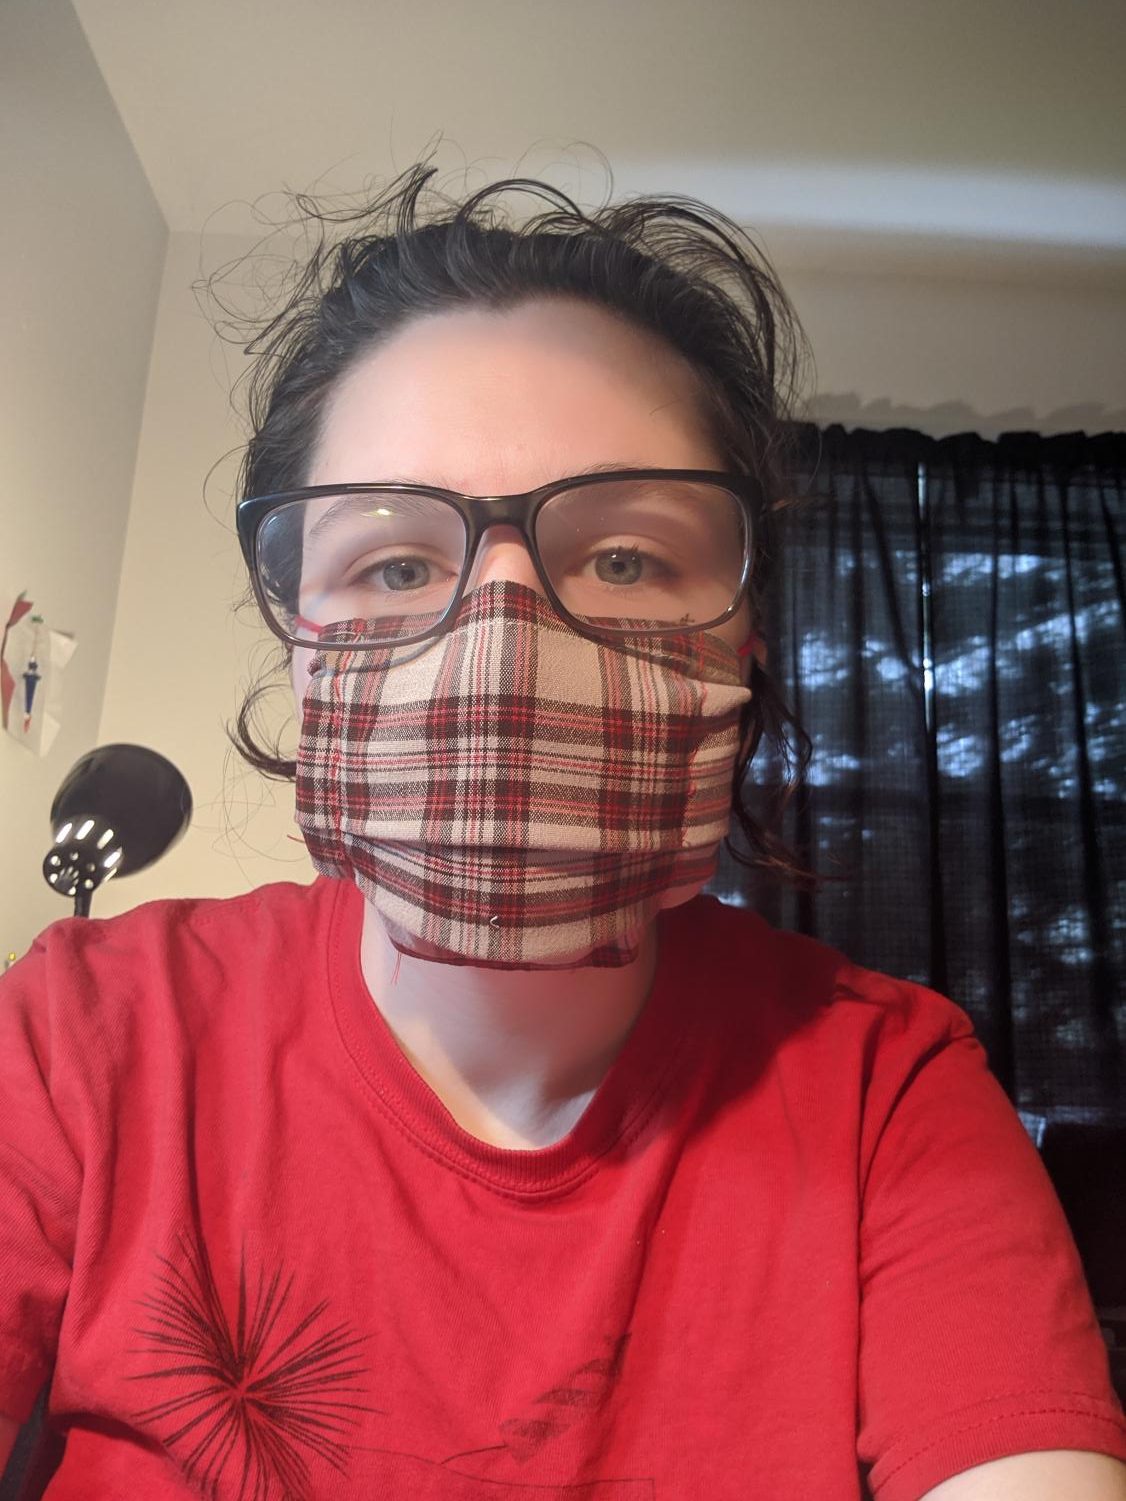
The finished product might not look as polished as an N95, but it’ll be a little more suave than a shirt tied around your face.
The CDC has announced that Americans should be wearing cloth masks when they leave their homes to slow the spread of COVID-19. N95 and surgical masks should be reserved for healthcare workers.
According to the CDC, cloth masks must fit to the face, be secured with ties or ear loops, have multiple layers of fabric, allow for breathing without restriction and be able to be laundered without changing shape or disintegrating.
While they might look complicated, it takes very little time to sew a mask that your sock-darning great grandma would be proud of.
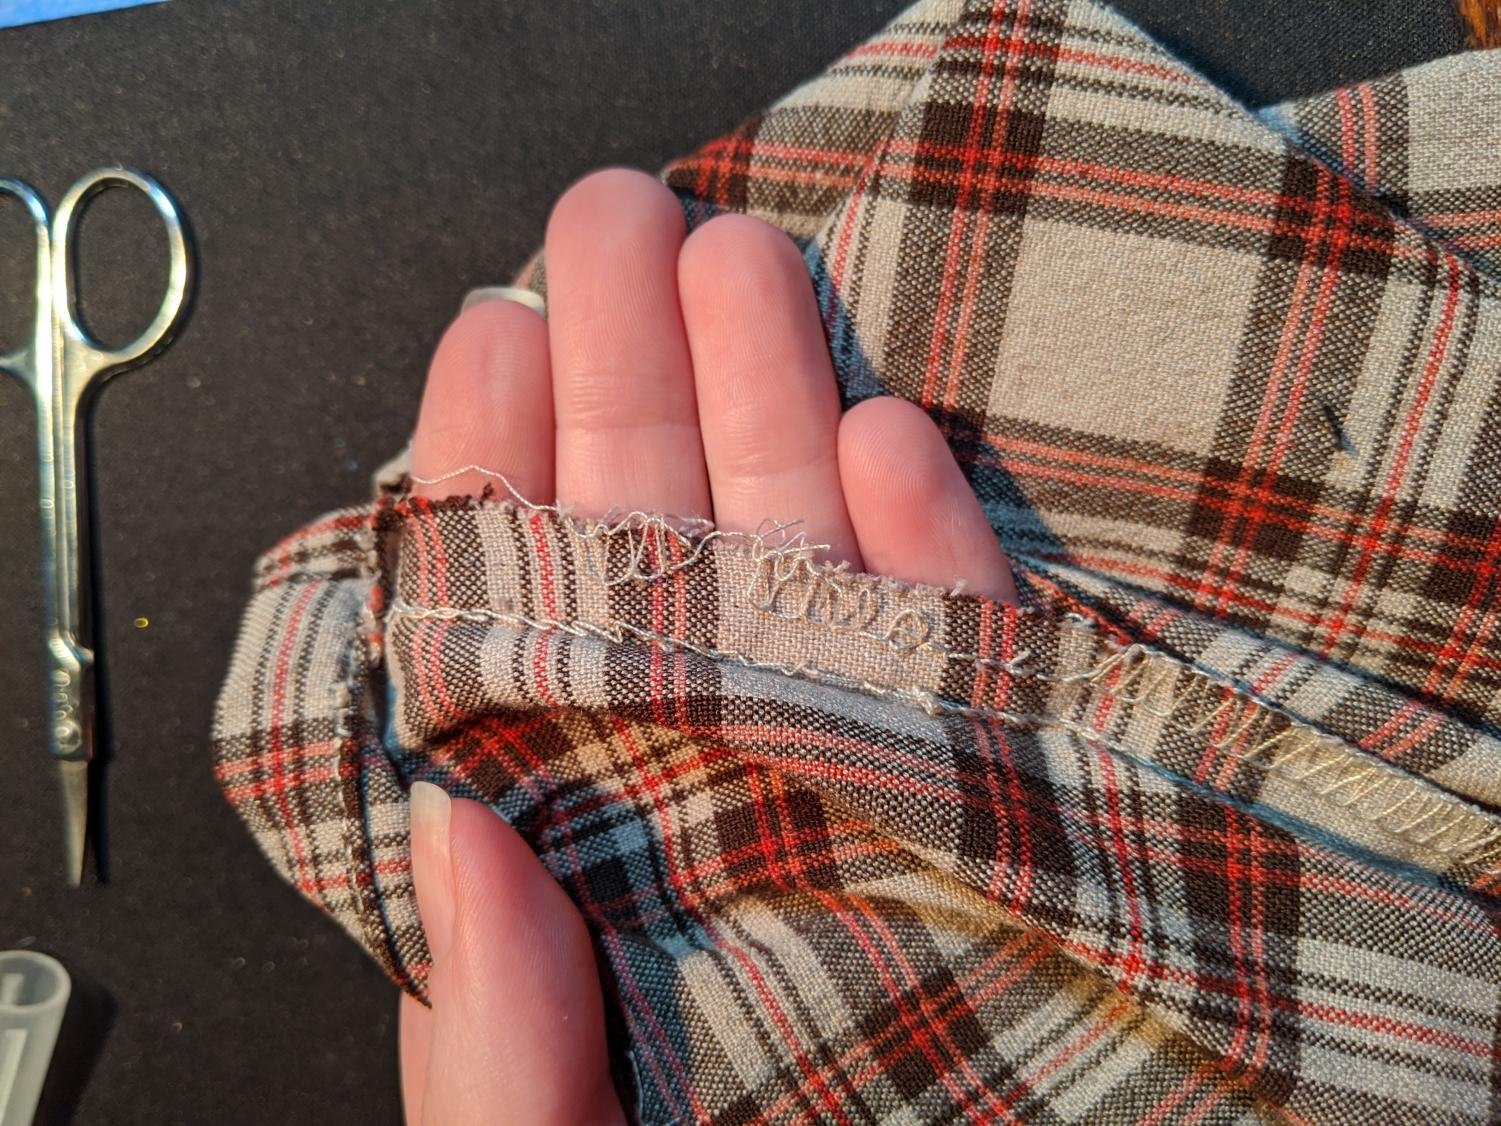
For this mask, all you need is a piece of cloth, sewing needle and thread, scissors and clips of some kind. I used bobby pins and paperclips.
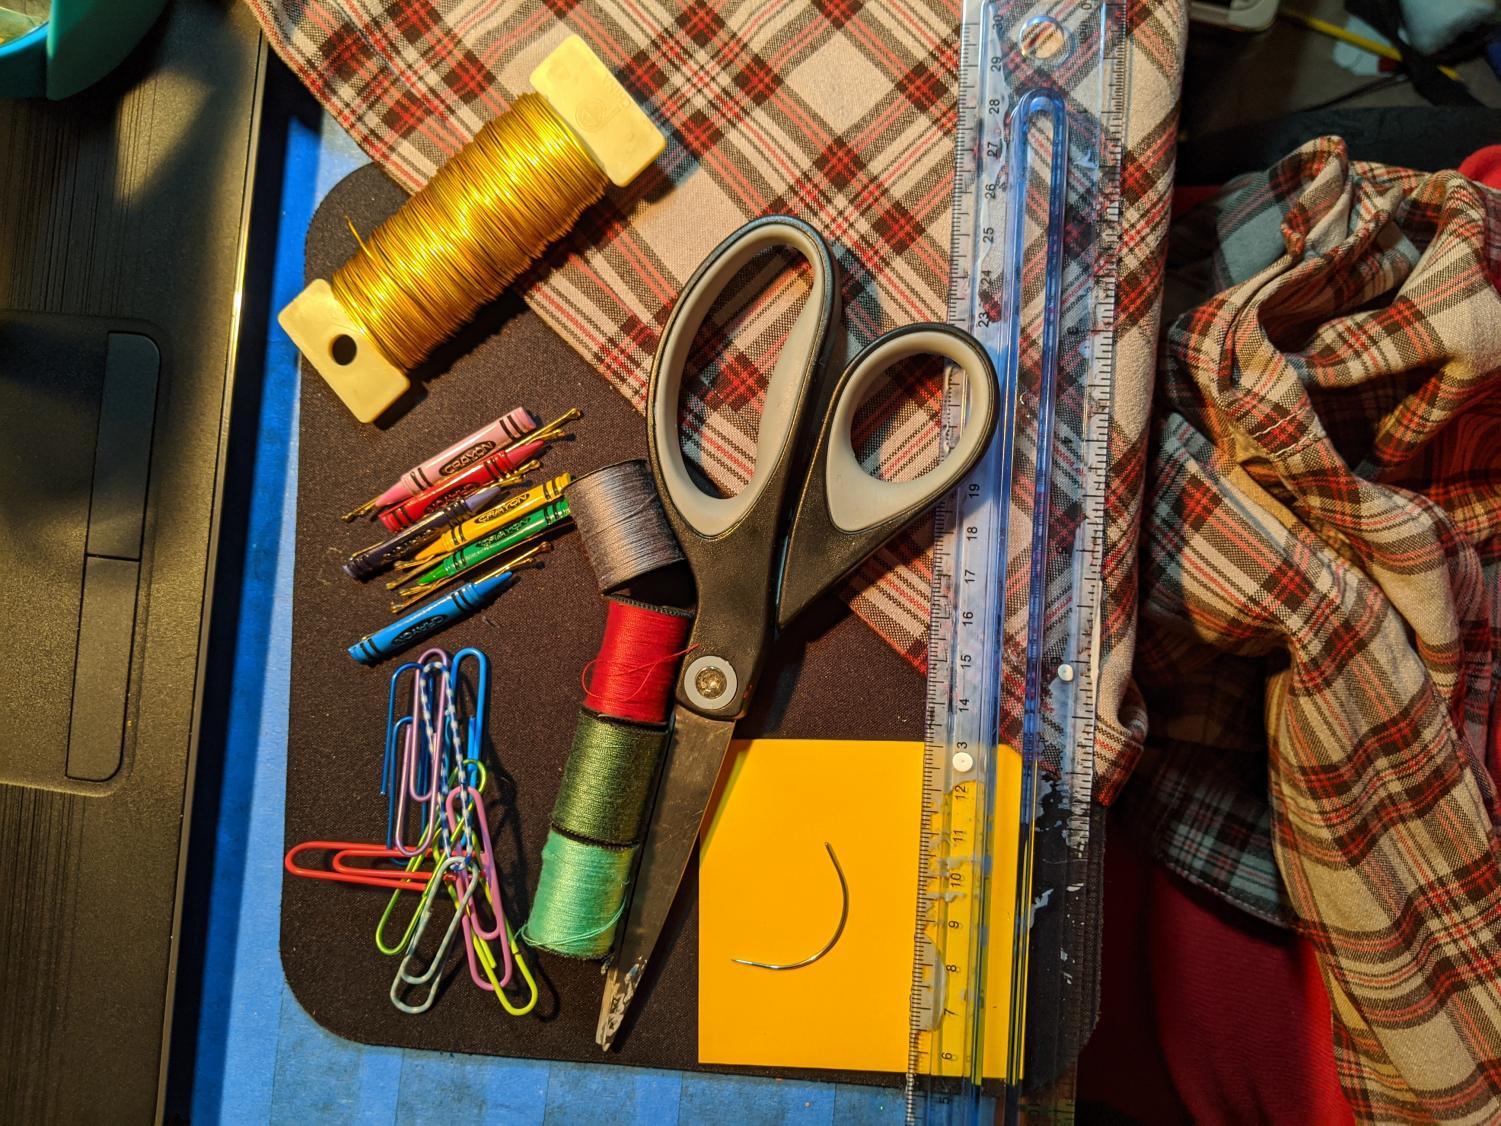
Helpful but not-really-important are floral wire, a craft knife, scotch tape, washable markers, yarn, actual sewing pins, and a steady hand.
This doesn’t require any fancy equipment; No sewing machine required.
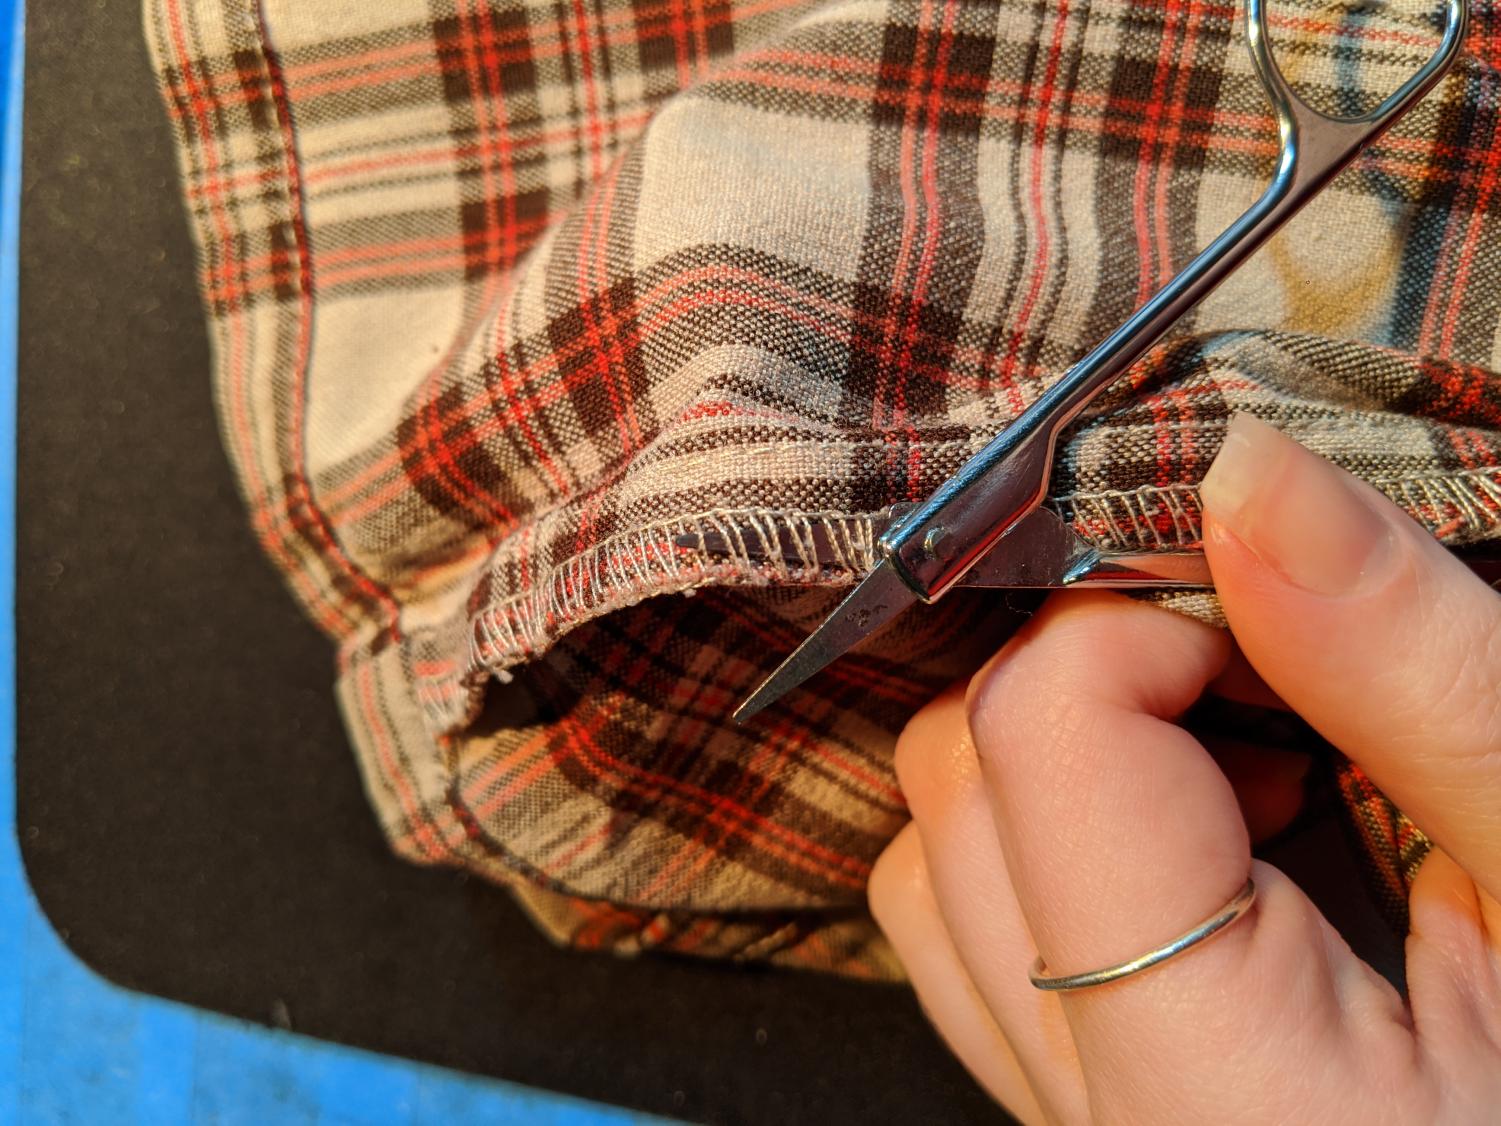
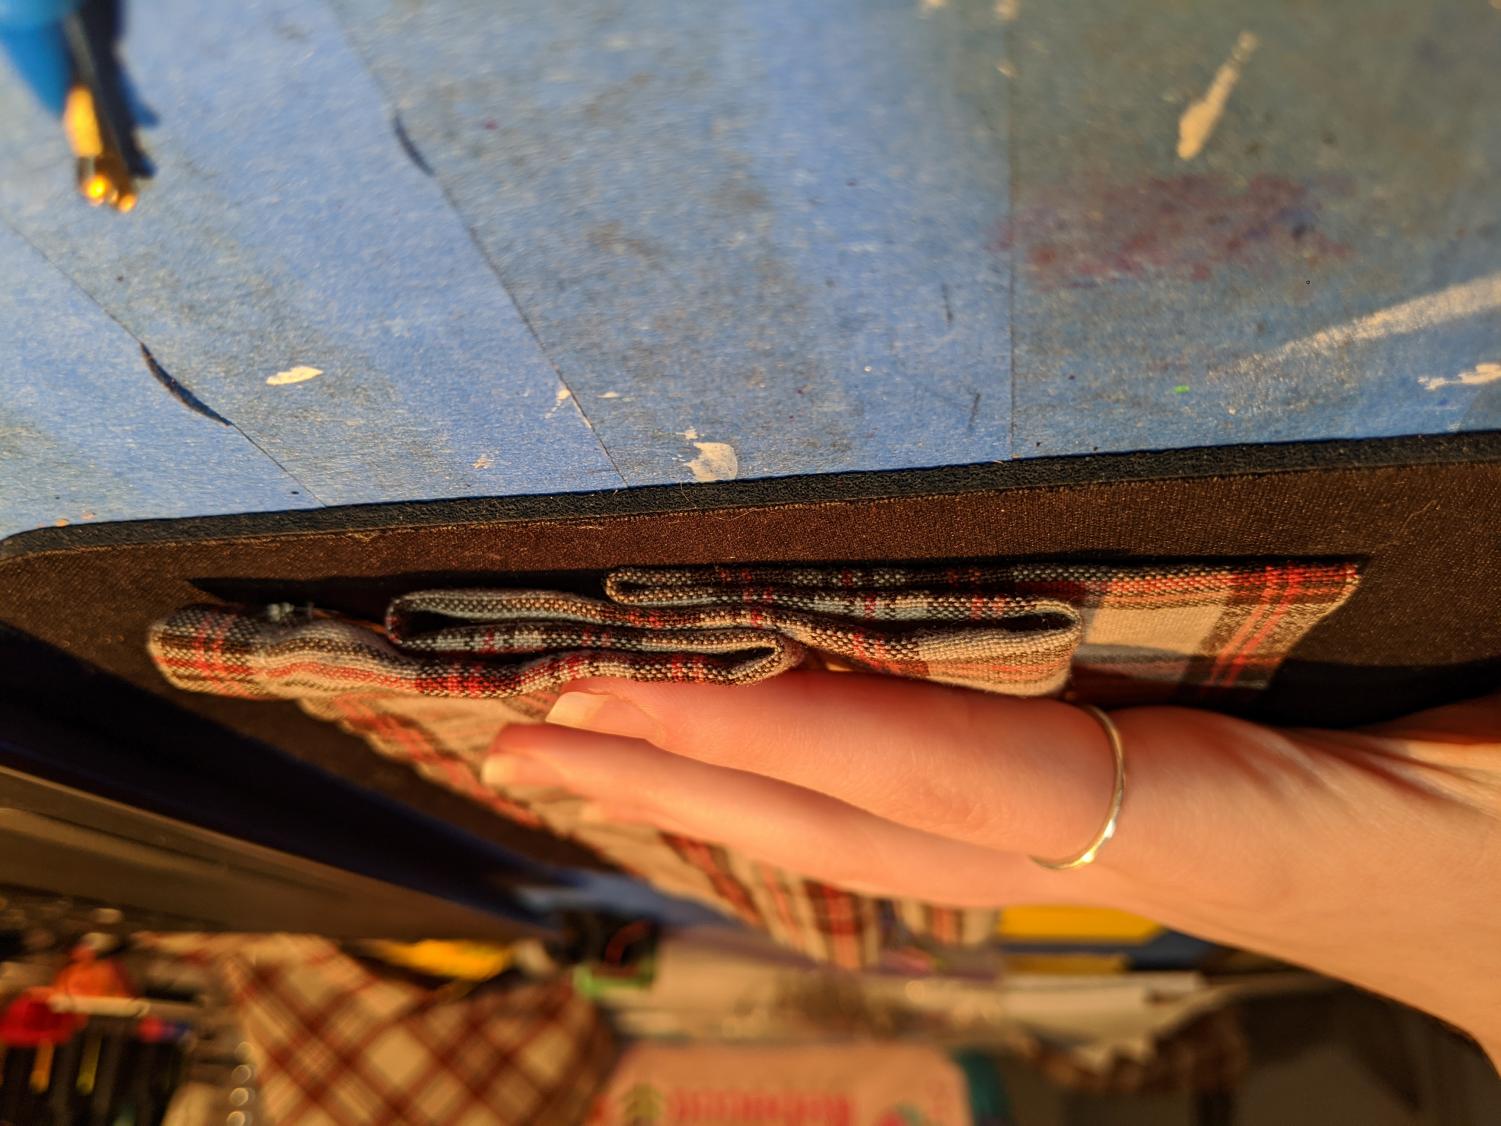
If you have to start from an old pair of pants, don’t just cut the fabric willy-nilly. We want to get the most out of the limited amount of fabric we have. Instead, use the pair of scissors to only cut the thread that binds the inseam.
Once you get about four fingers’ worth of an opening, you can yank the stitching apart without tearing the fabric. It’s fun—it makes me feel very strong.
Once you’ve torn up to the inseam, take the scissors and cut the now-flattened pant leg off the waist area of the once-pants. You’ll have a flat piece of fabric with a seam in the middle.
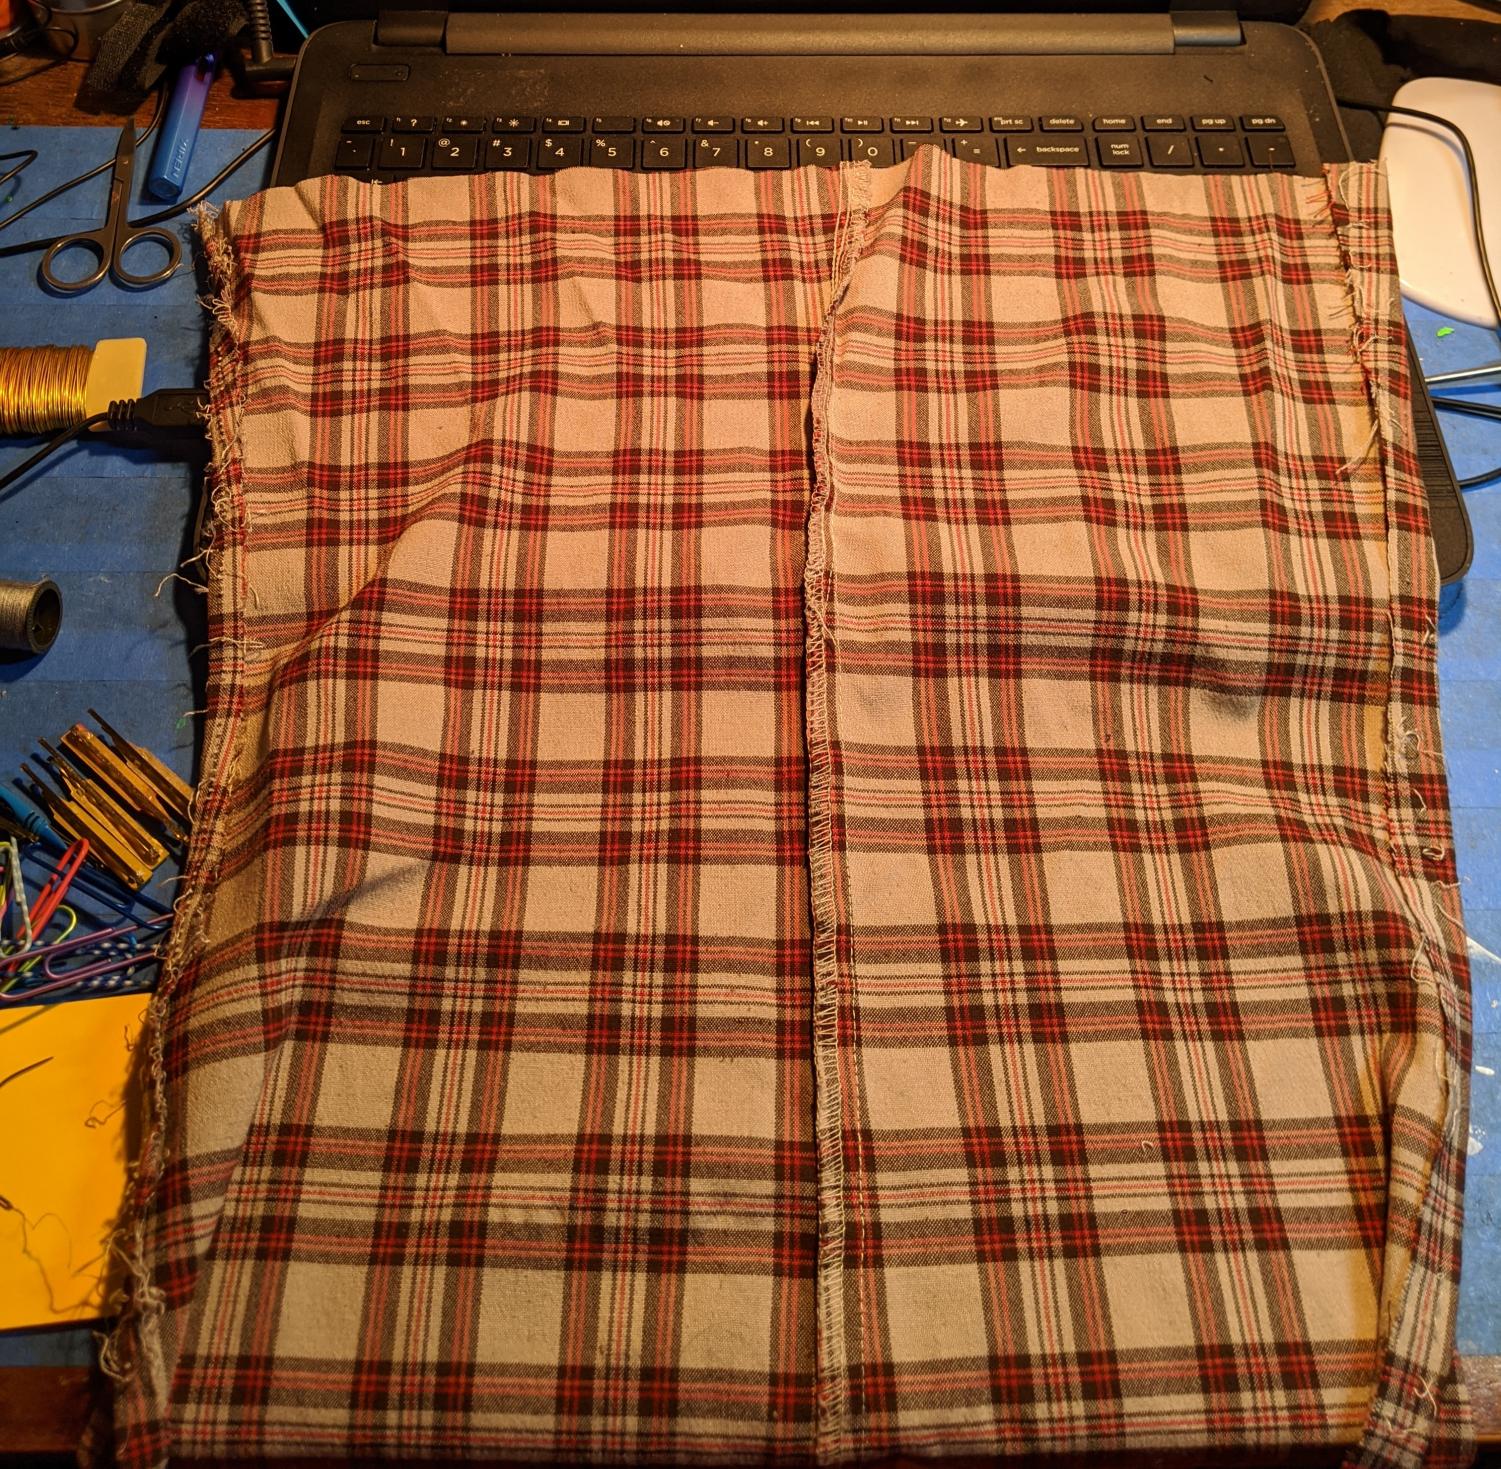
Cut that in half widthwise, ignoring the seam. Then separate the halves at the seam, the same way you did in the beginning.
Now you’ve got a workable piece of fabric for making a mask for someone around your size. If you’re making a mask for someone who is larger, you can cut the fabric with the existing seam in the middle. It won’t lay perfectly flat where the existing seam is, but it works just as well.
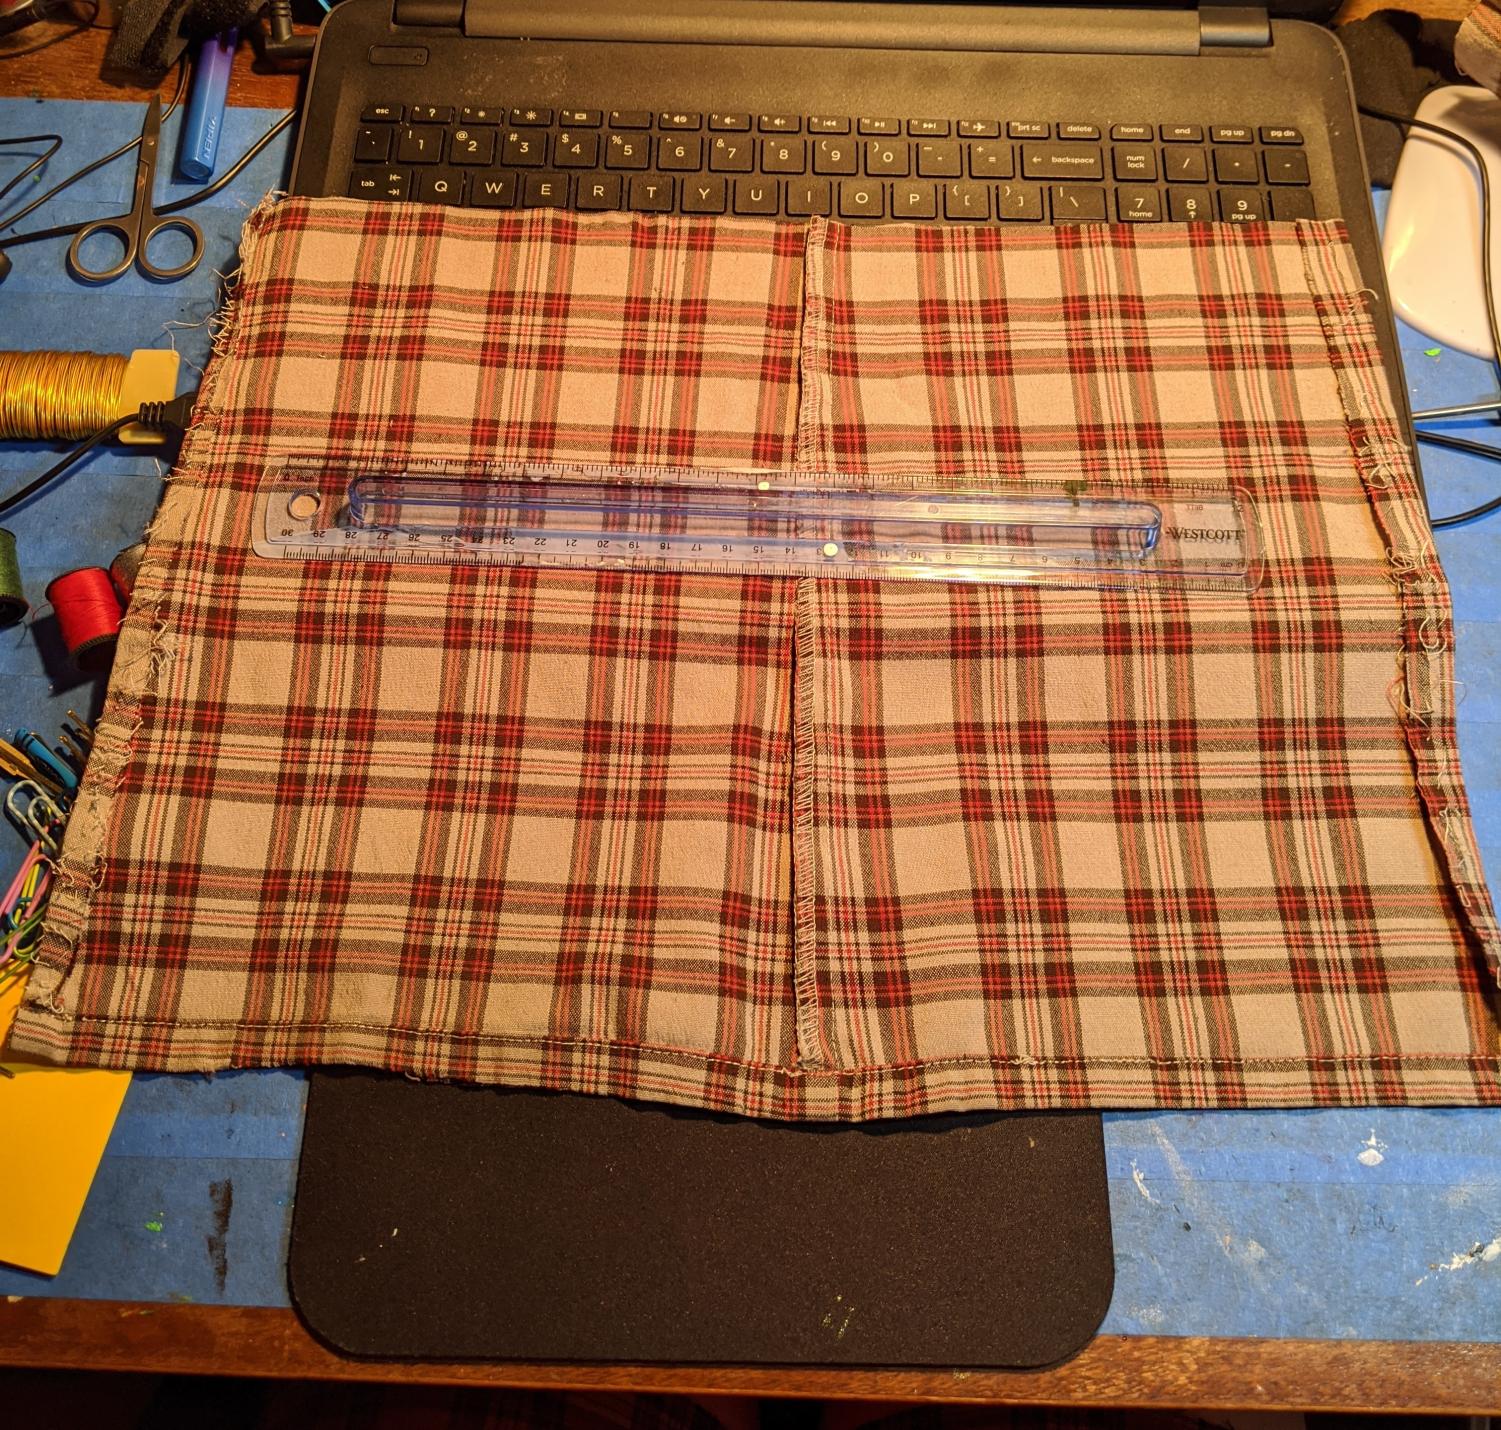
The initial width of the fabric should extend (if you press it against your face without stretching) from ear to ear. It’s going to shorten a bit, so it’s okay if it’s a bit long.
In this case, the bottom part of this piece of fabric has a hem on it, so it will be the top of the mask.
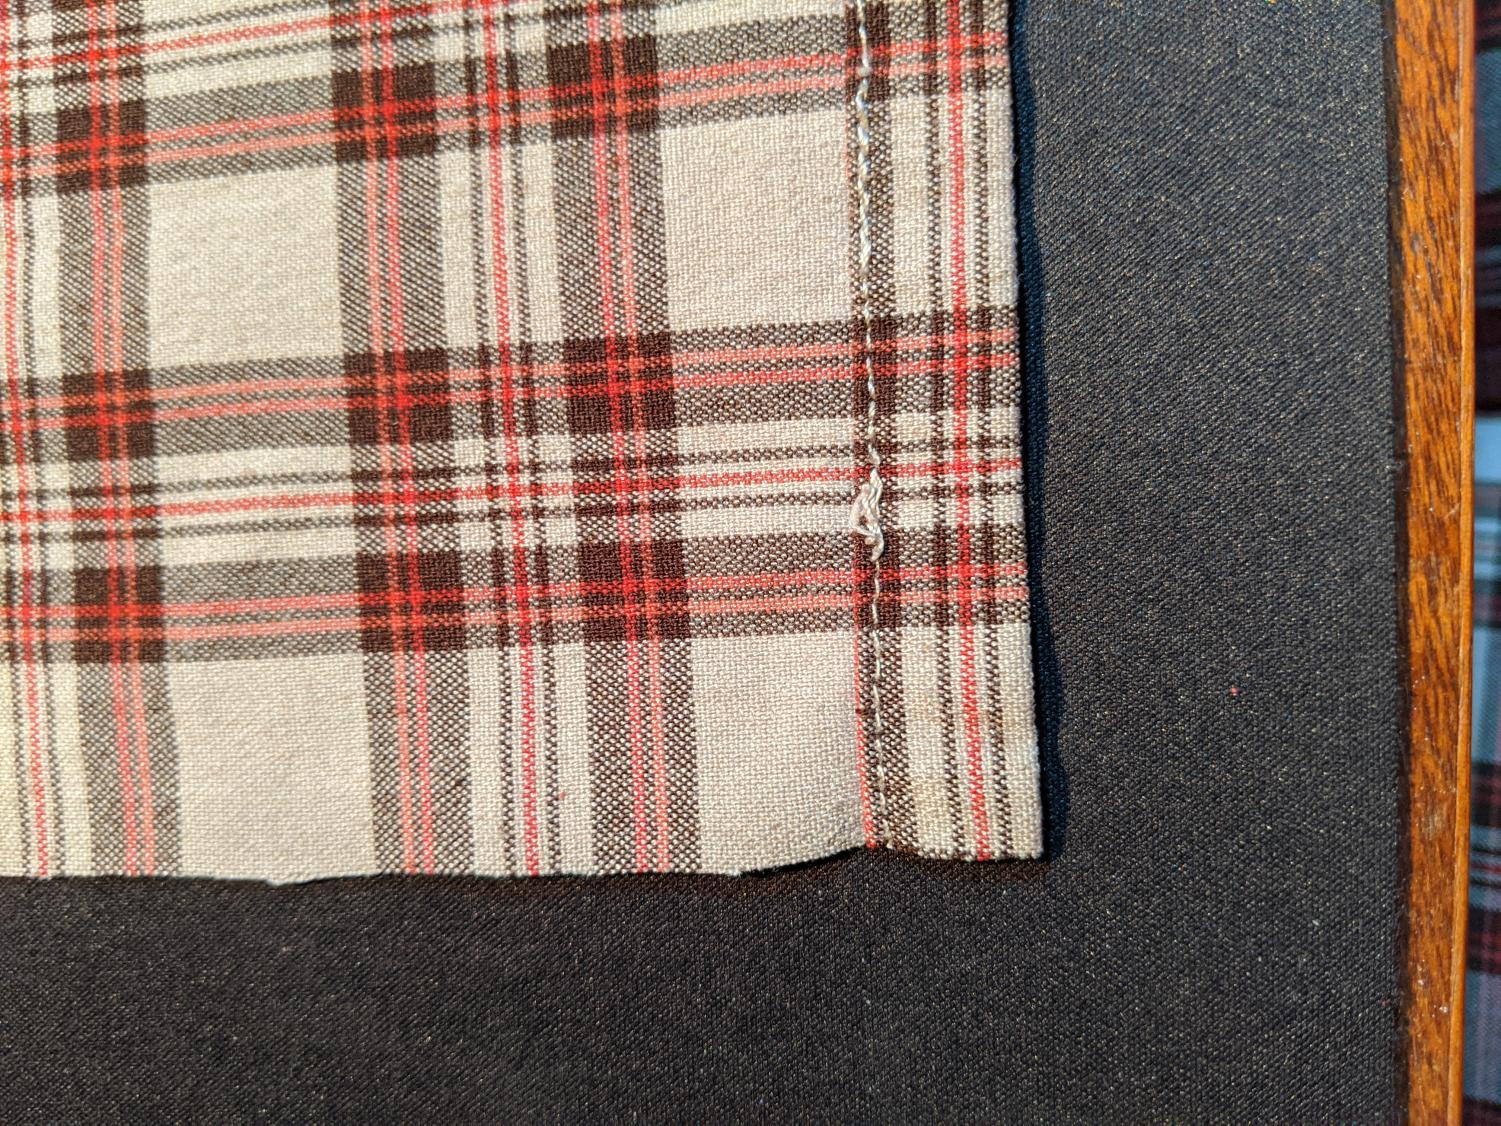
The hem from the bottom of the pants
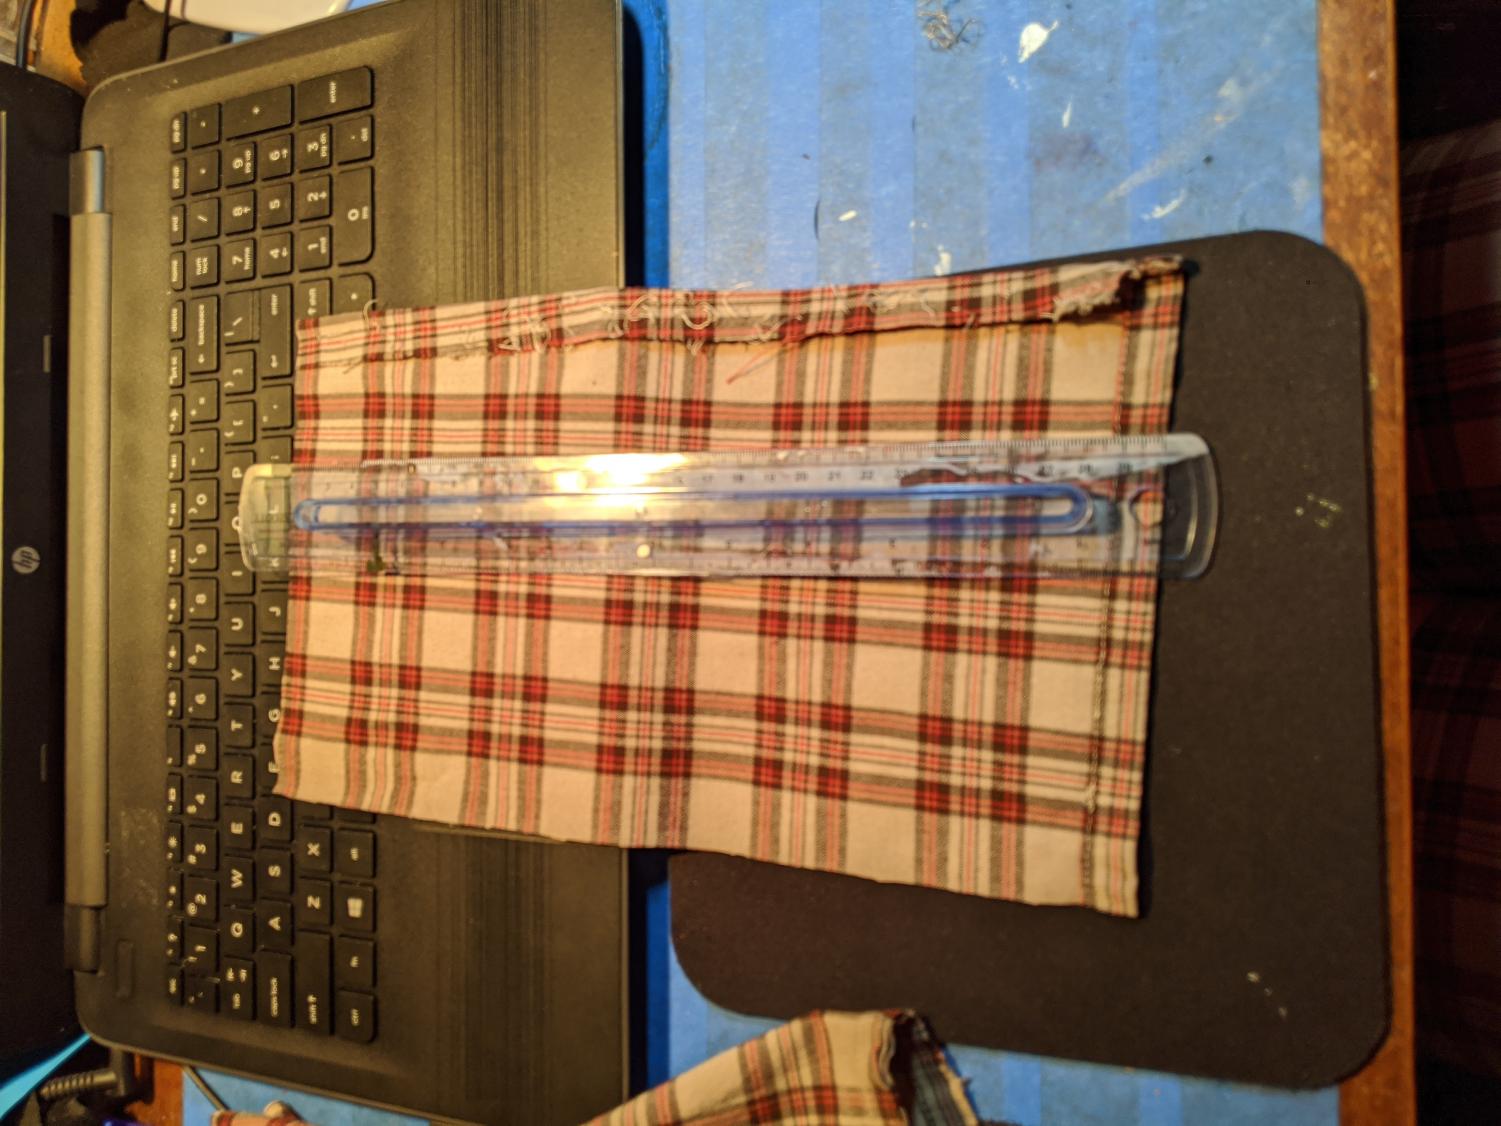
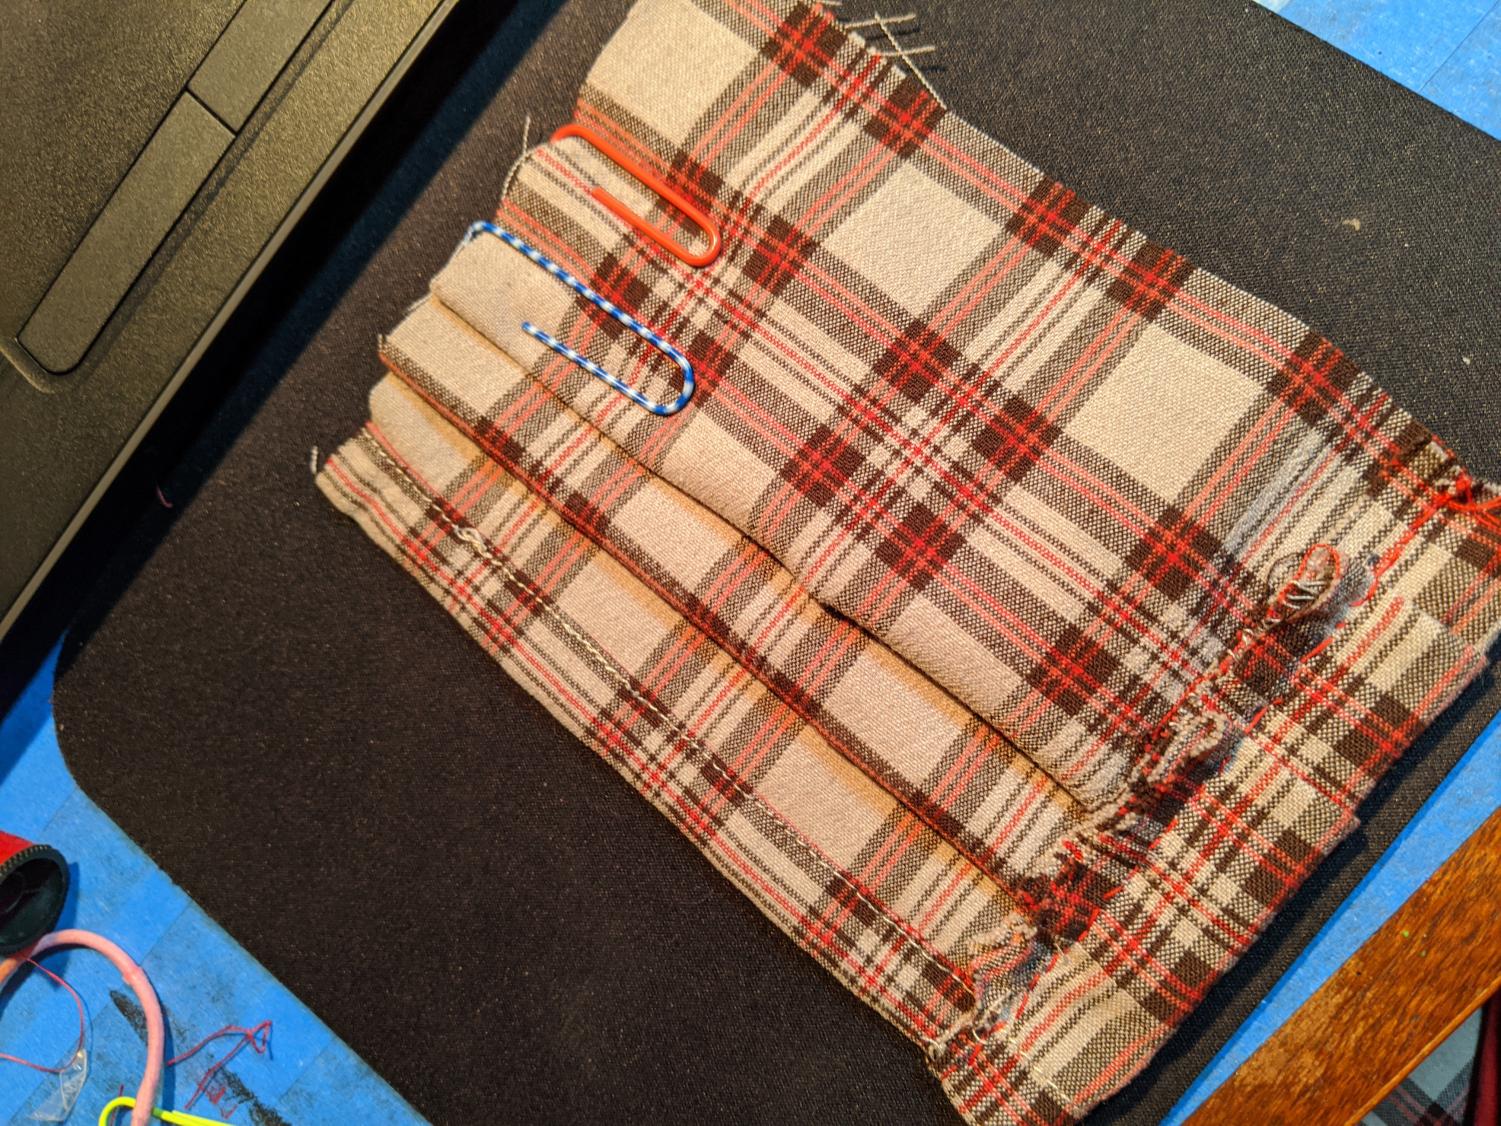
Fold the piece of fabric, pleating to create the shape of the mask. Pin in place. If you don’t have sewing pins, this is where the paperclips or bobby pins will do just fine.
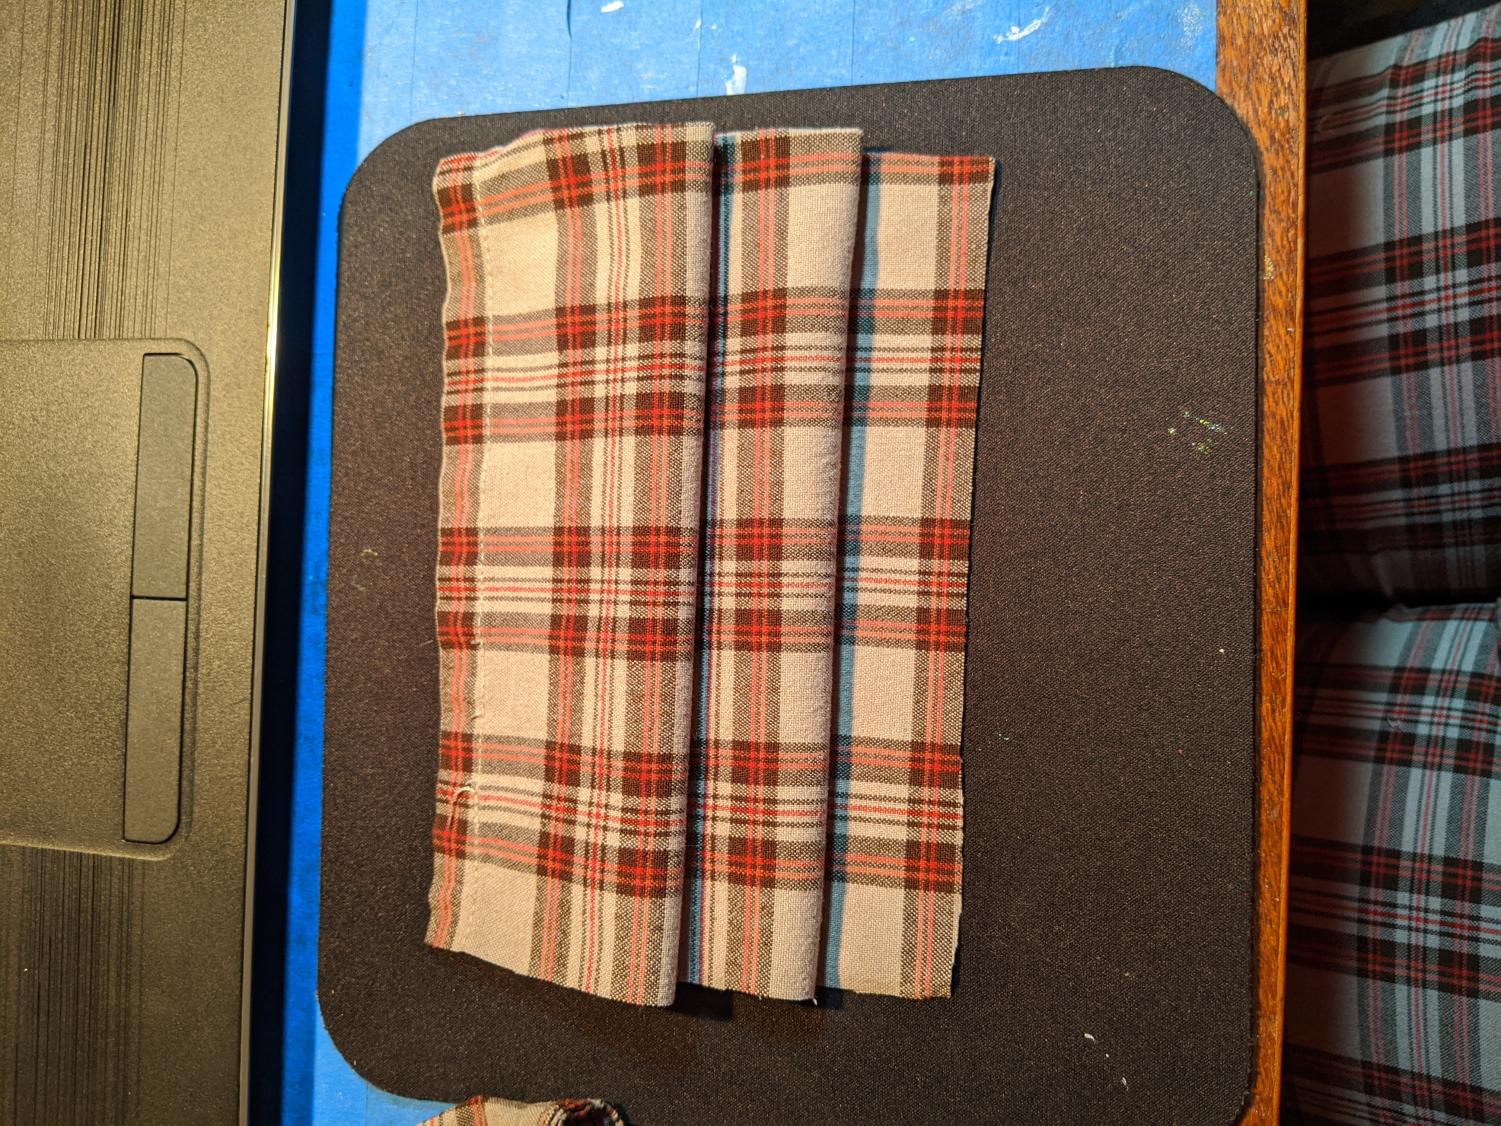
When you pleat the fabric, you will shorten it considerably. The pleated mask should, without pulling, extend from the bridge of your nose to just past the tip of your chin. Once it’s sewed, the pleats will fit around your face and chin and create a tighter fit than a flat mask.
I also like to put in two paperclips in the middle of the pleats, so they stay in place.
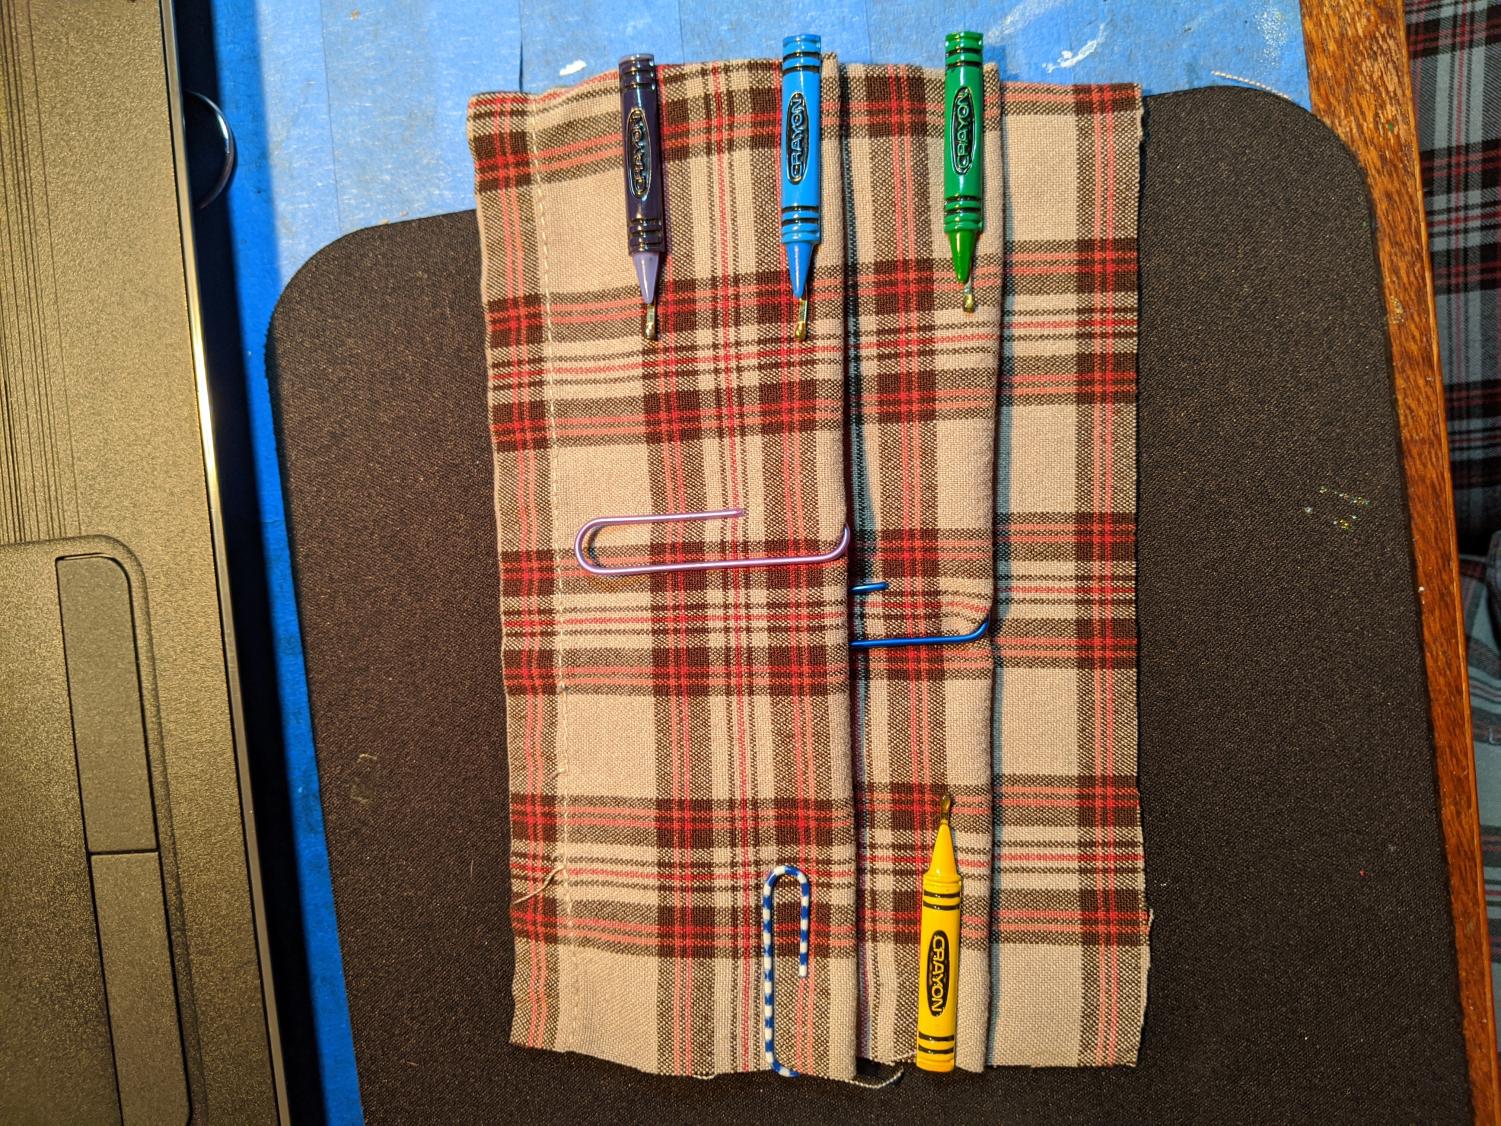
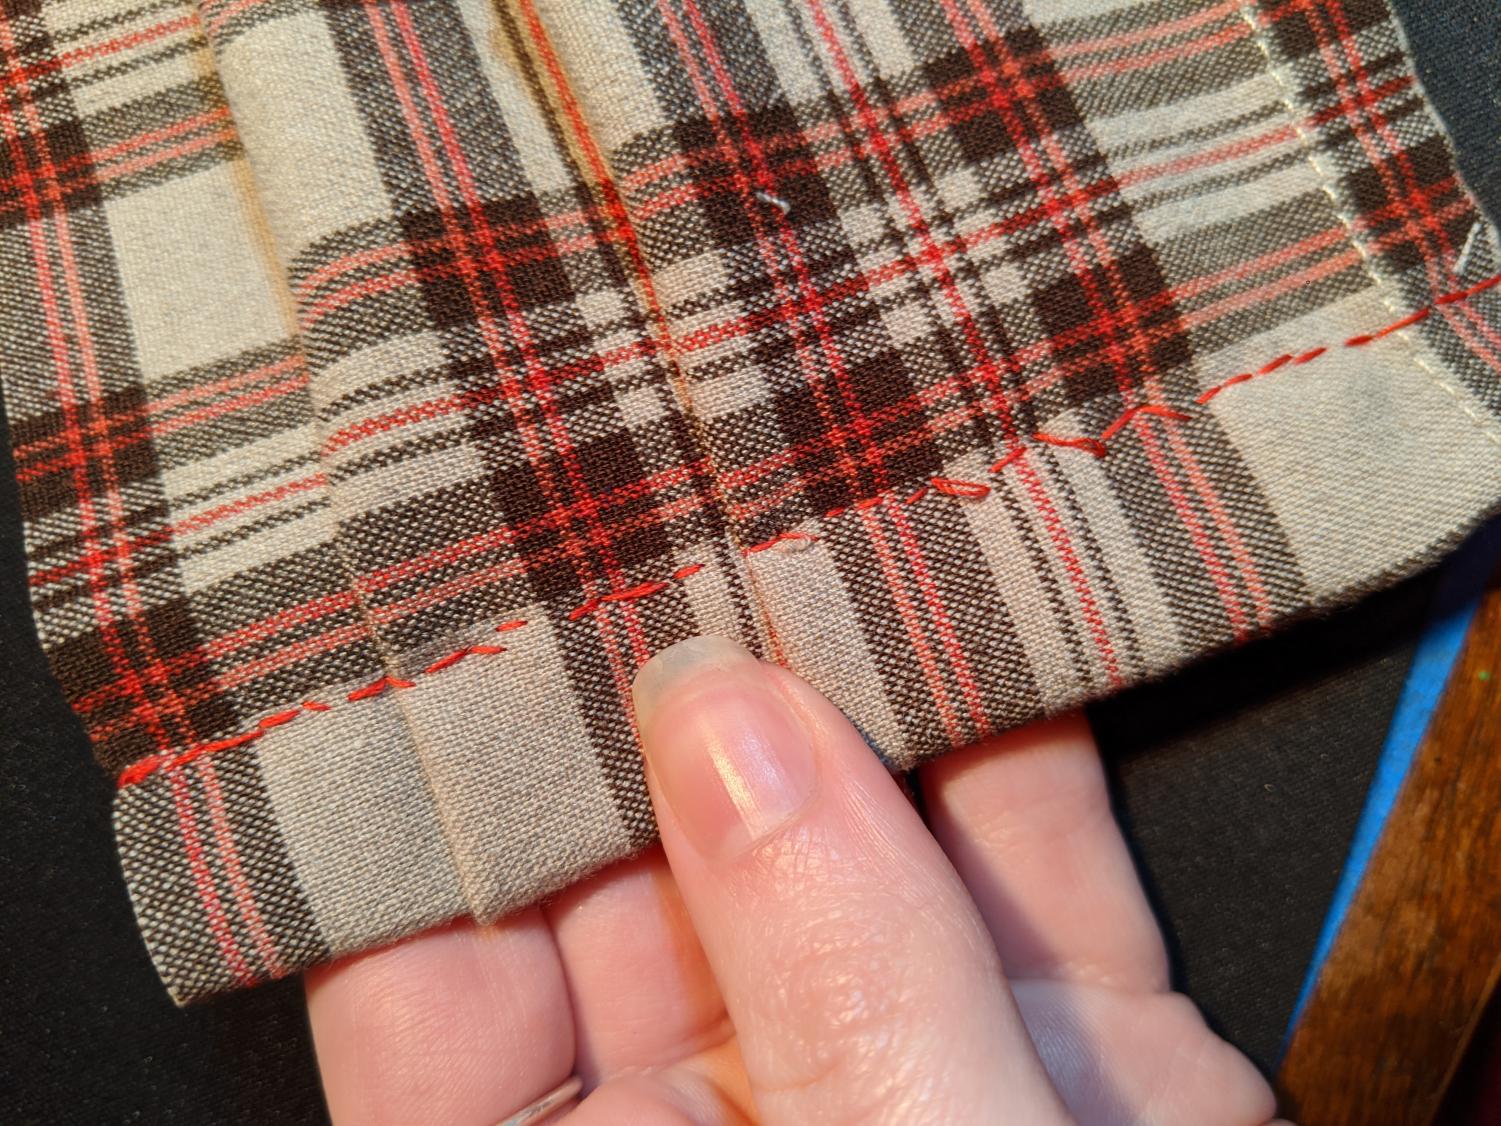
Once you’ve pinned the mask down, pull back the bobby pins and fold each side of the mask back about an inch, enough to create a place for the ties to pull through.
Take the sewing thread you’re going to use and pull approximately six times the height of the mask, then pull through the needle and double. At the end of the thread, tie a double knot.
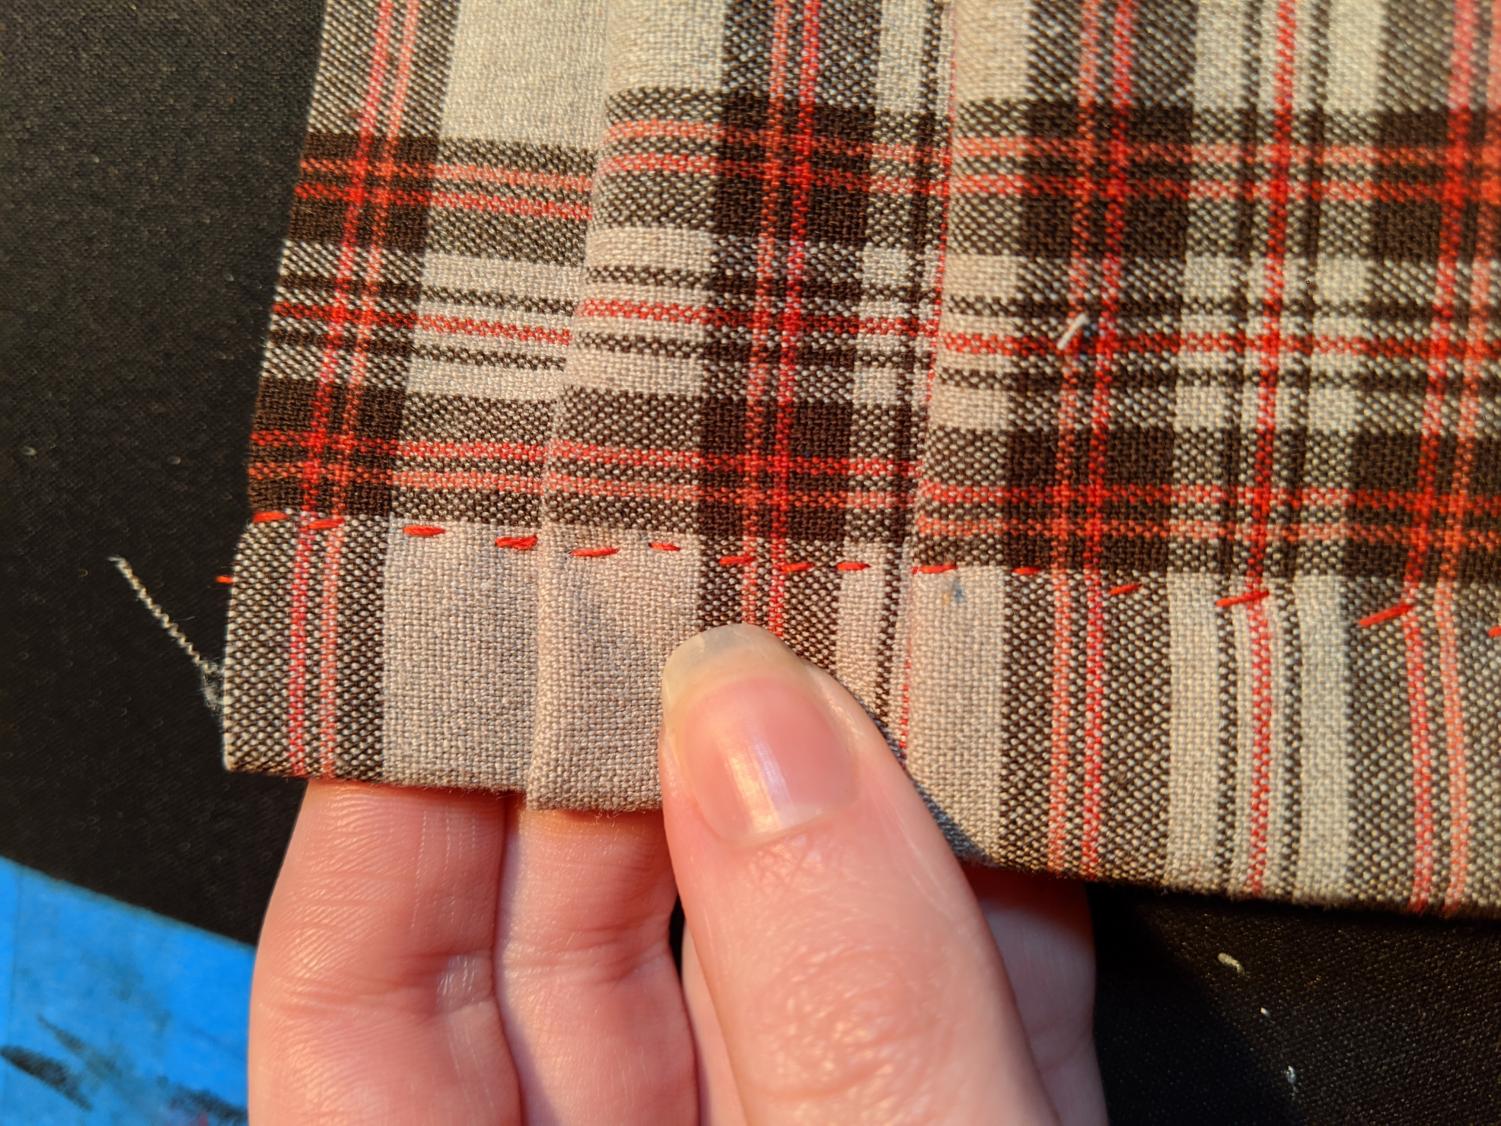
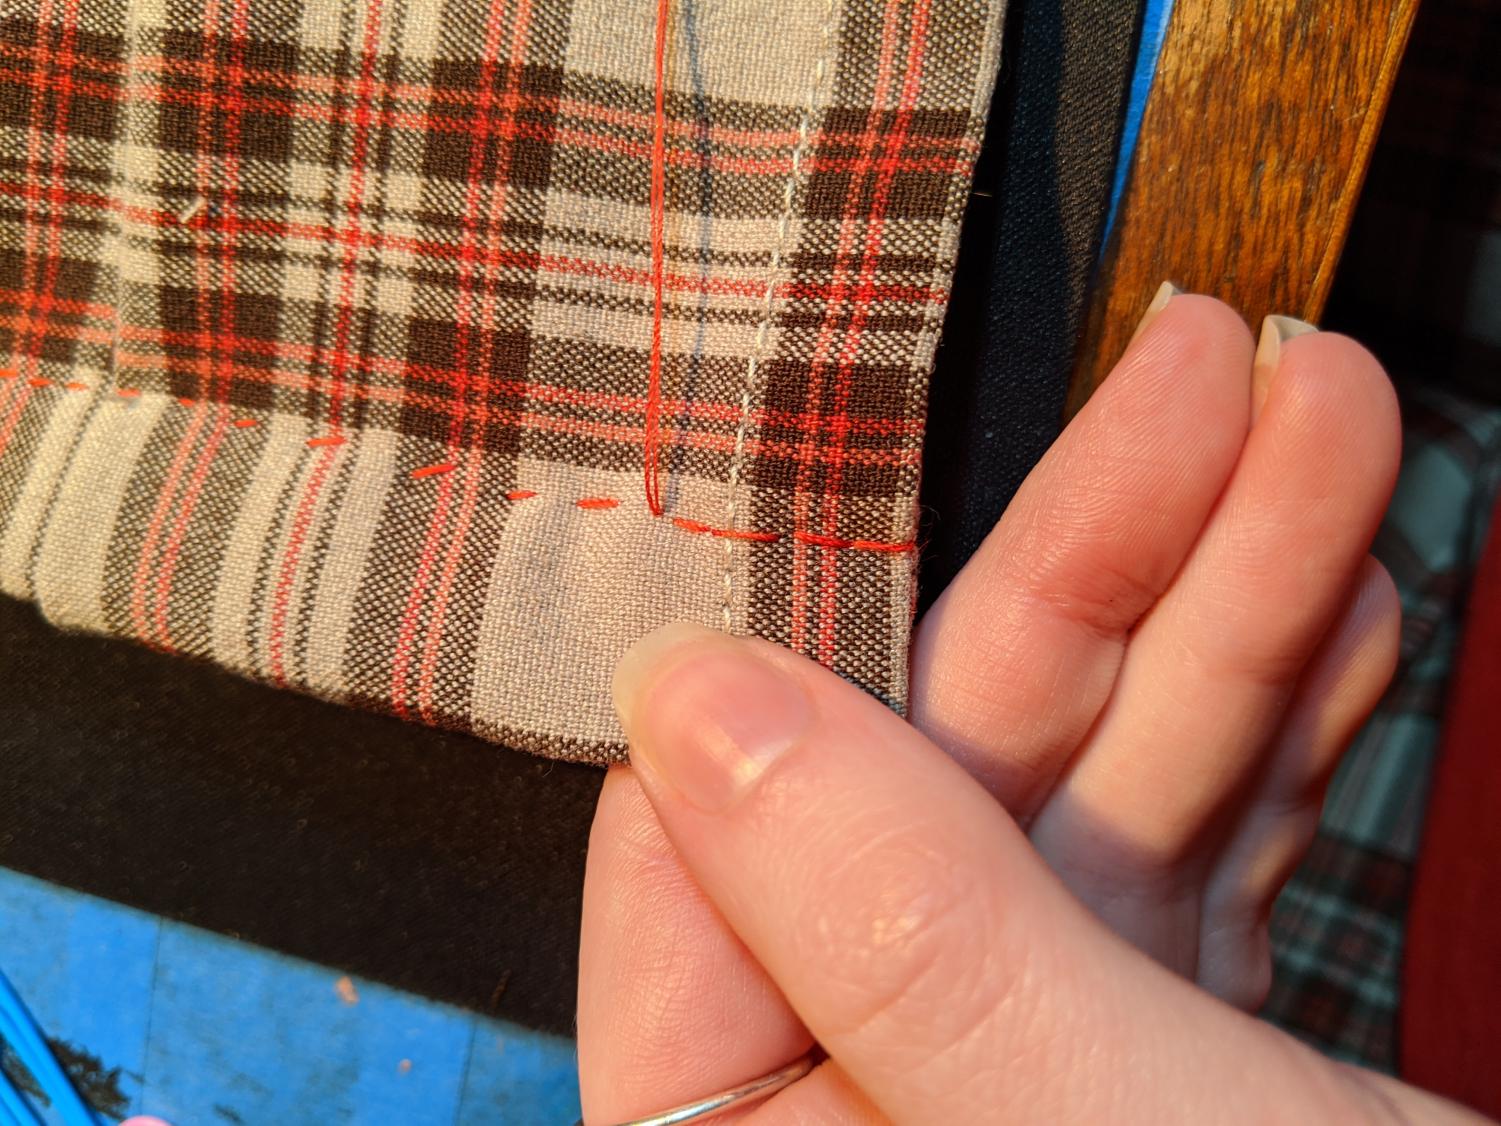
Now you’re ready to sew. Go into the mask at the bottom on the back, and using small stitches, go up the mask until you’re at the other end, then go back the other way. In a perfect world, the stitches would look like a marching line of hyphens, equally spaced and in a straight line.
That is not what these ones look like, because I have a hand tremor.
Regardless of their ability to follow the leader, the stitches will stay put. Once you’ve returned to your starting position at the bottom of the mask, stitch over the beginning stitch three times and tie it off.
It should be noted here that I learned to sew in third grade and have done very little stitching since. I’m trying my best.
Now that you’ve successfully sewn one side, you can optionally add a bendable wire to sew into the top to make it fit around your nose. If you’re using floral wire, make sure to double or triple the wire so it stays in place.
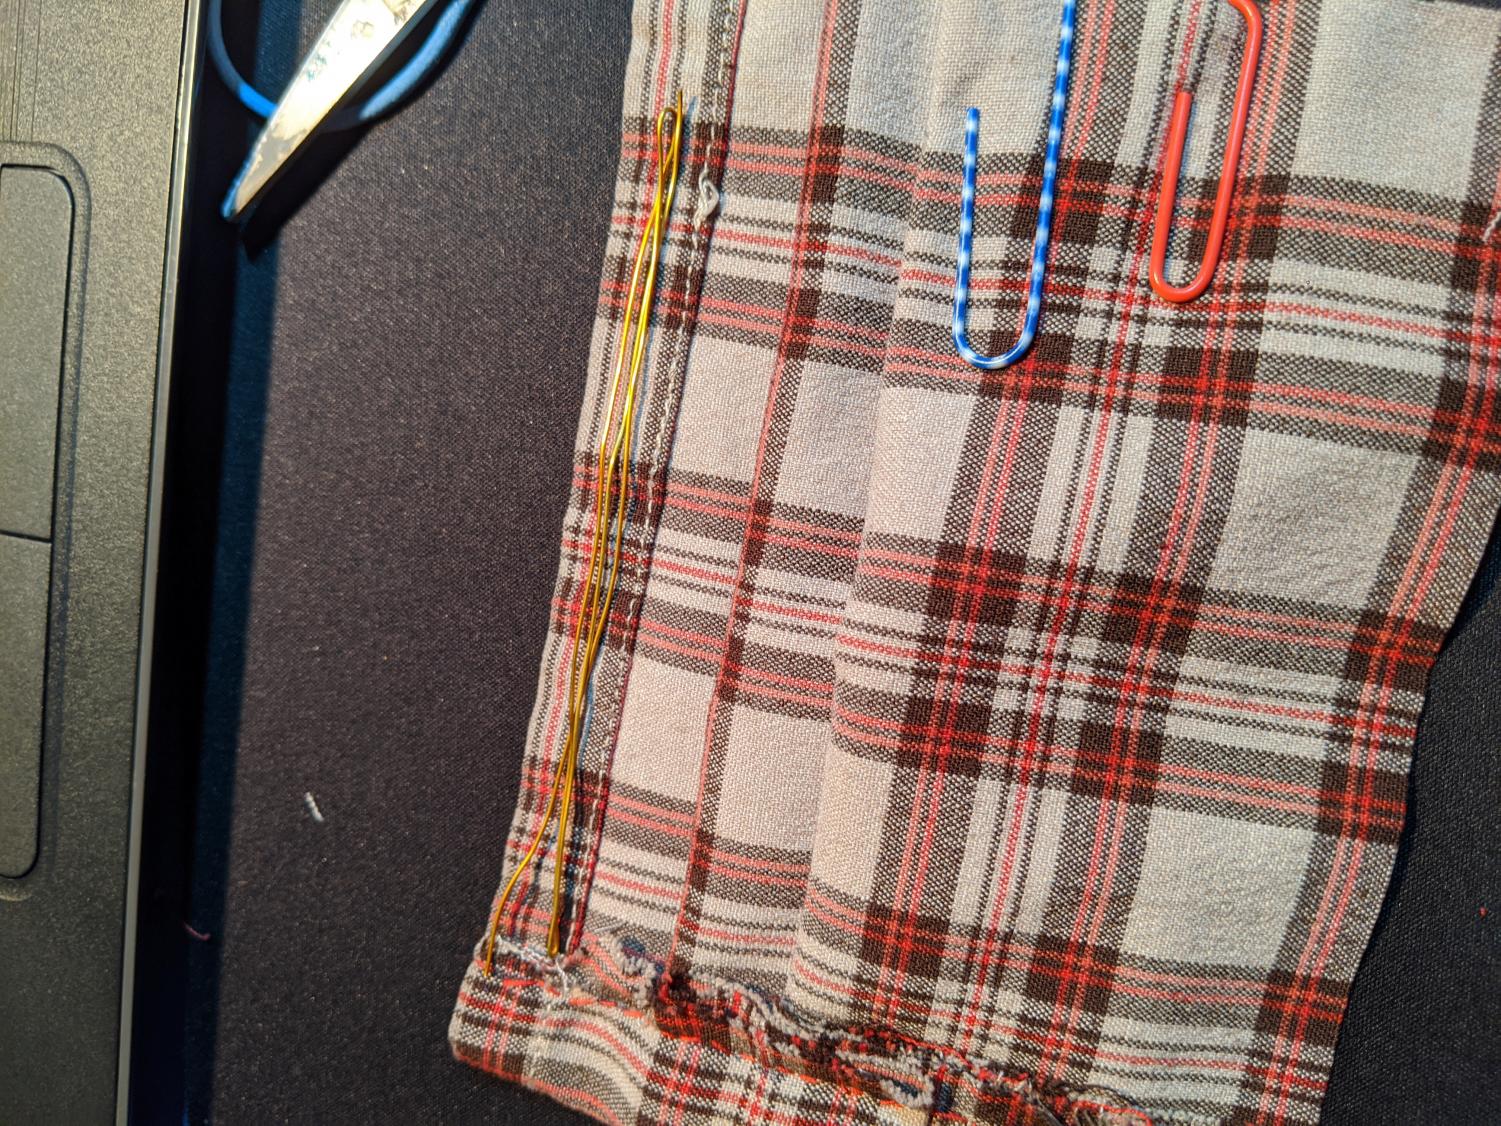
If you don’t have a piece of fabric with a convenient hem, you can fold the fabric over the wire and sew down and back again, creating one. Because the tube came ‘ready-made,” I just pushed the wire in the “tube.”
Fold over the other side, mirroring the first, and repeat sewing down and back.
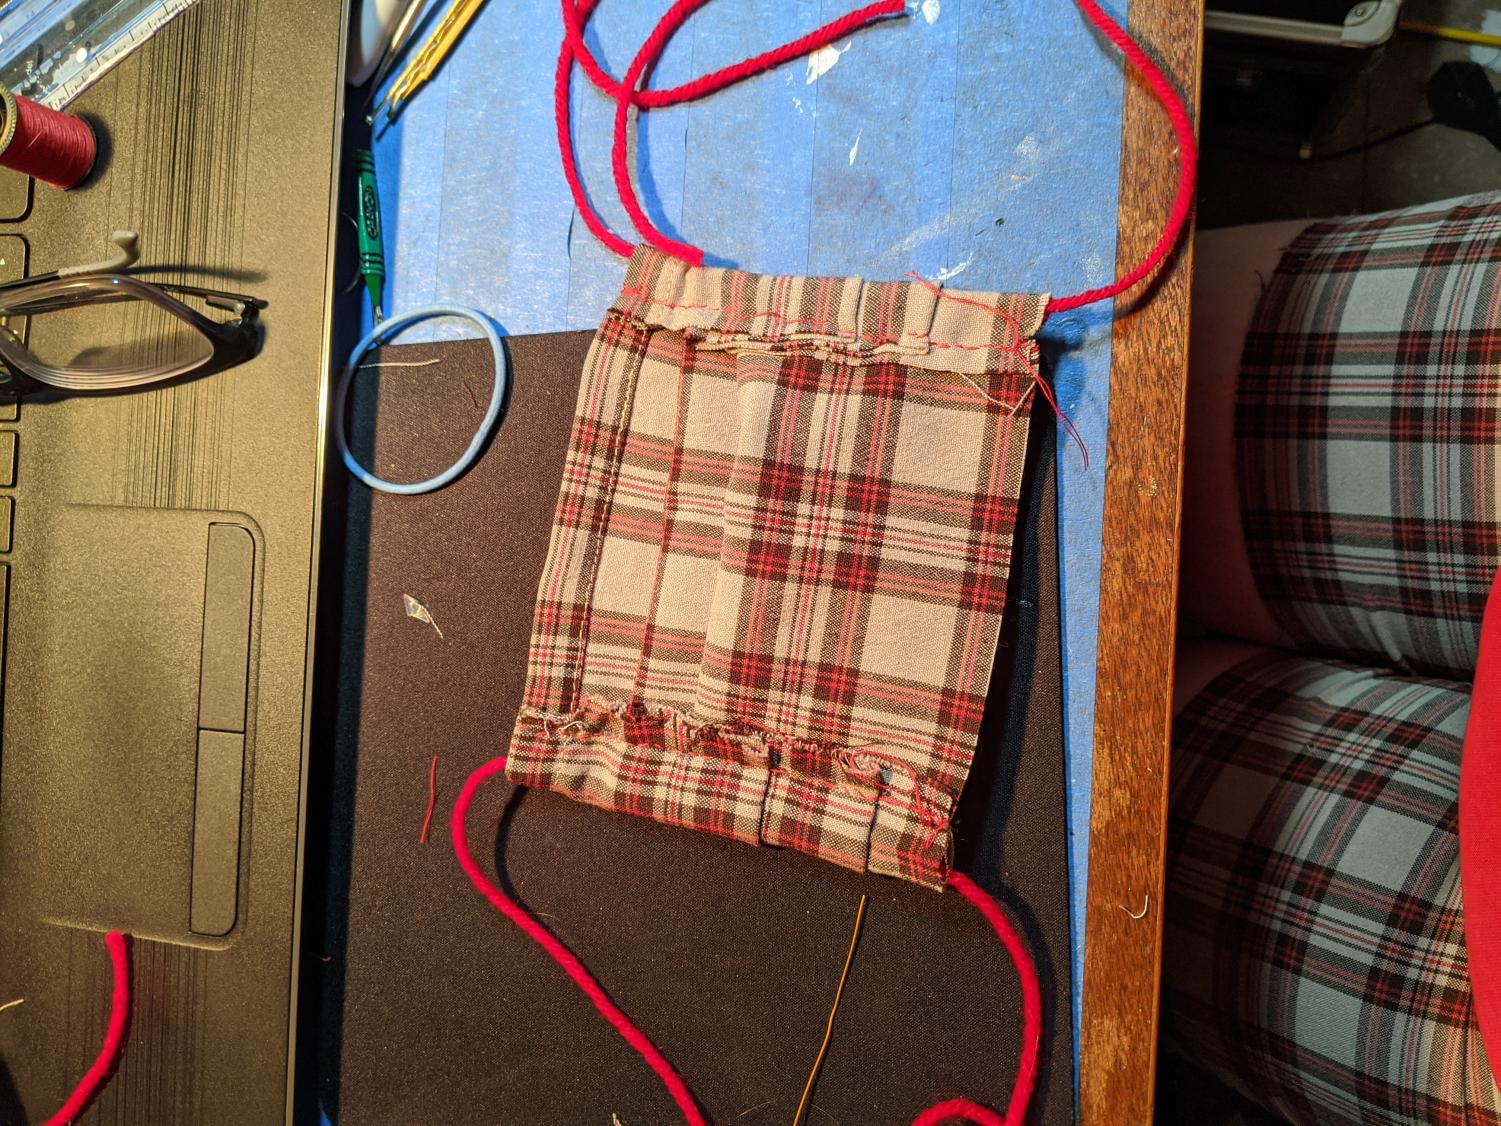
Now you’ve got a mask—all you need to do is attach it to your face somehow.
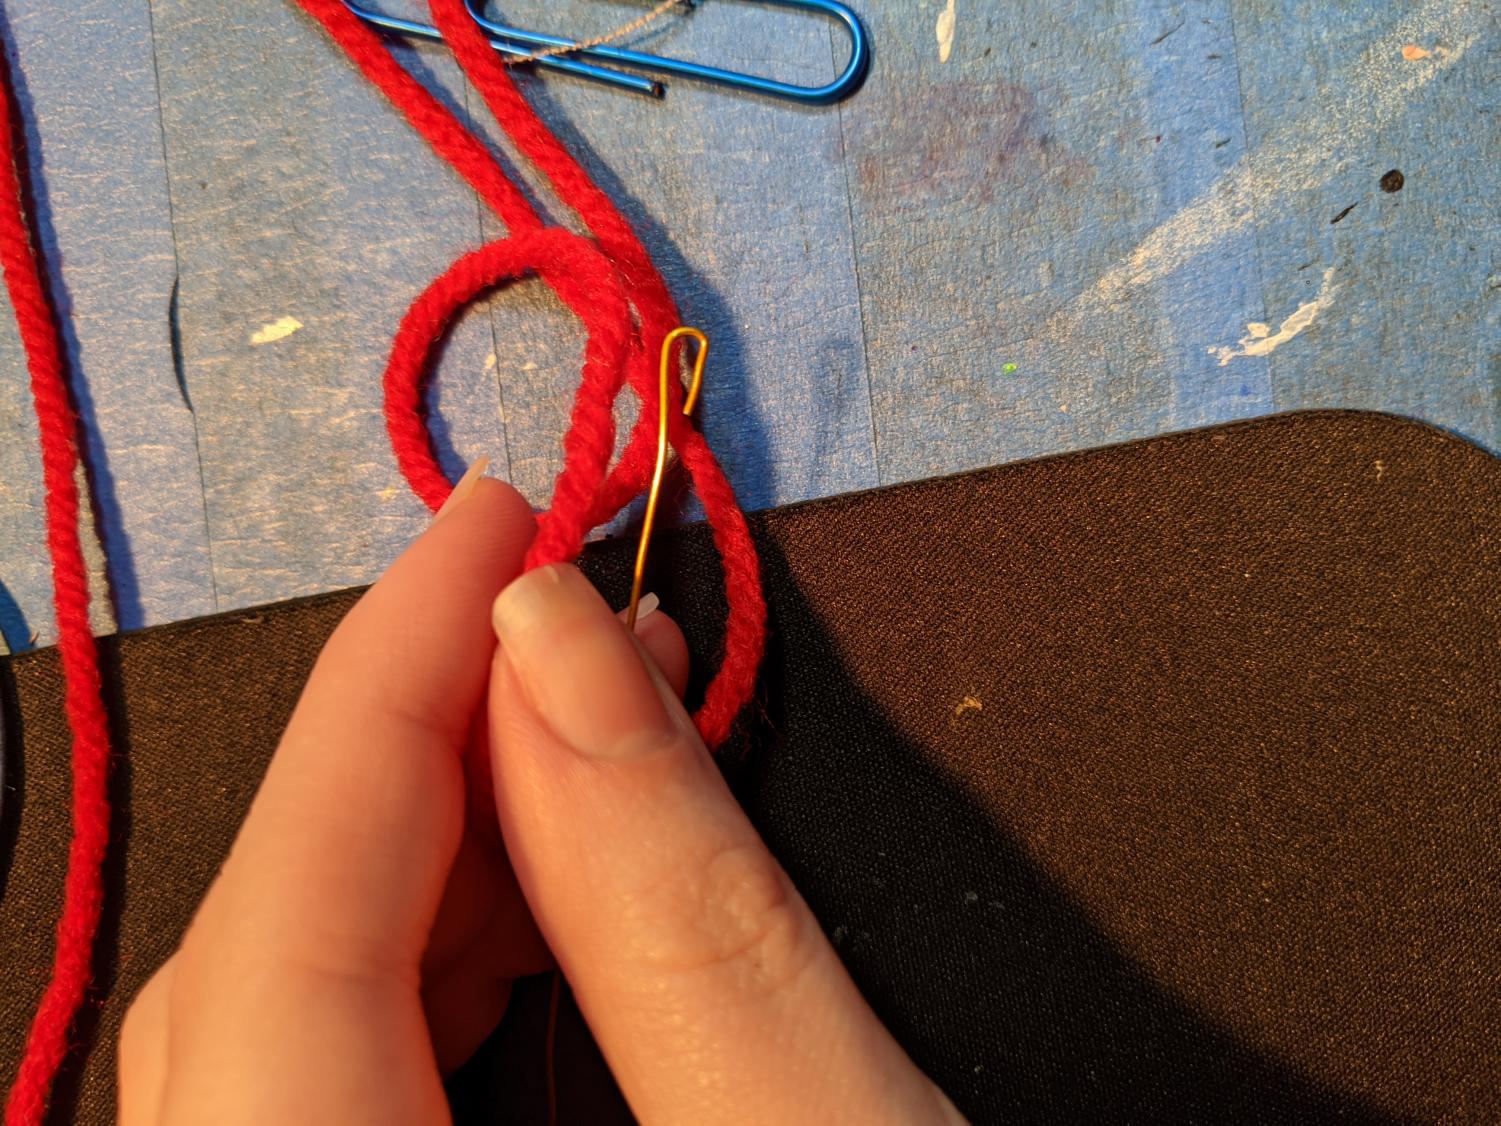
To make the ties, get two long pieces of yarn, elastic, or strips of fabric to thread through each side of the mask. I used a bit of floral wire bent into a hook to pull my yarn through.
Tie the top ends of the yarn loosely against the back of your head, adjusting the nose wire, and then tie the bottom pieces tightly. Adjust as needed.

Senior, Journalism & Creative Writing
Grew up in Atkinson, NH
Fall 2018
Along with traditional journalism, I enjoy writing satire and fun feature...